


Introduction and when it is needed
On a boat, just one out-of-size detail is enough to turn a simple connection into a leak, a “forced” tightening, or a slipping hose. Understanding measurements, threads and compatibility is therefore the fastest way to choose reliable fittings, reduce installation times, and buy the right component on the first try.
This guide helps you navigate through marine fittings, hose holder e BSP NPT threads (in addition to metric), with a practical approach: what to measure, how to read the labels, and which mistakes to avoid. When a detail depends on the specific model, you will find indications like “check the product sheet”.
Basic concepts (how it works)
Fitting, hose barb, and adapter: quick differences
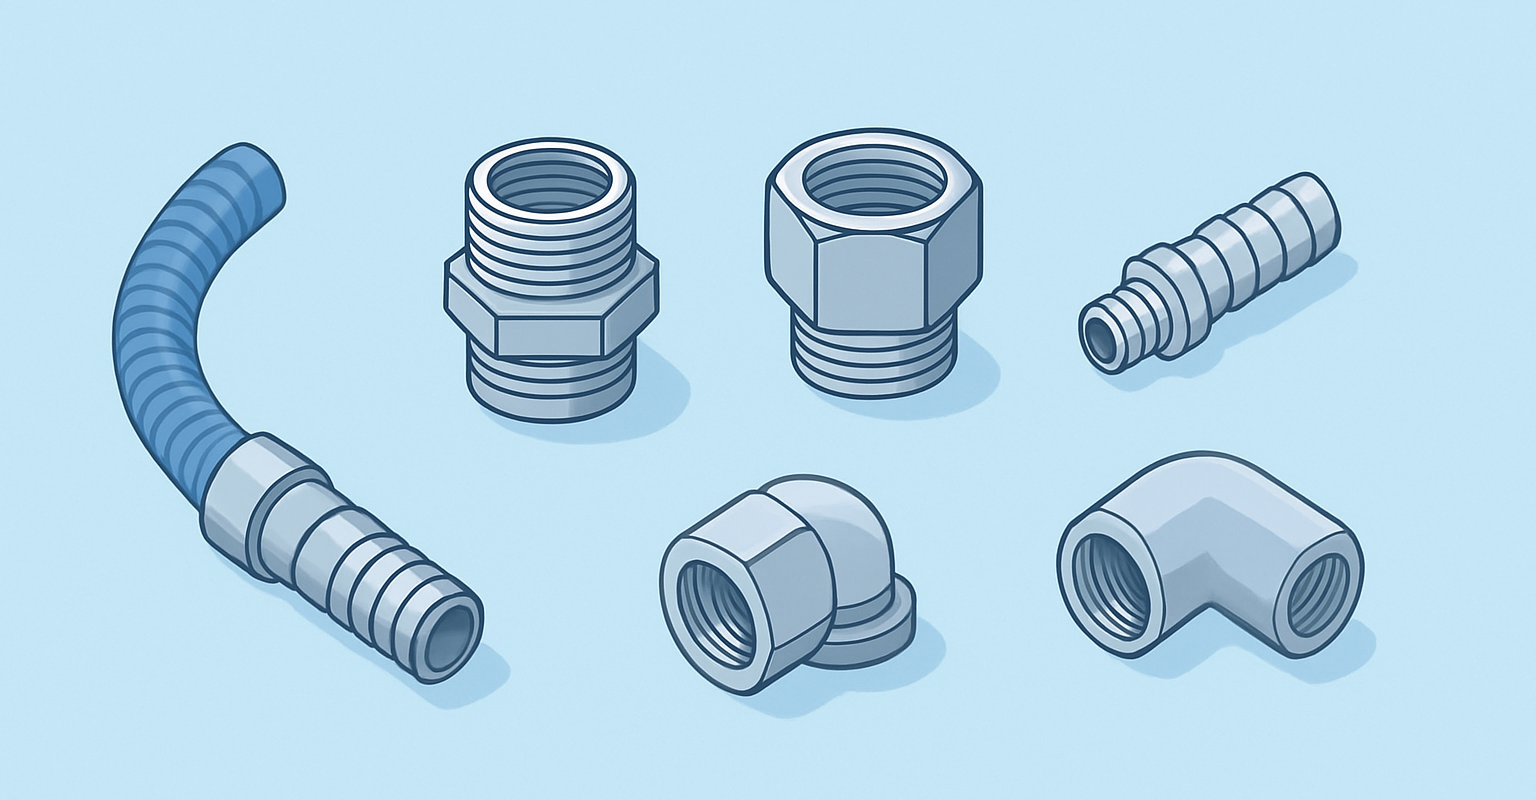
In common language, “fittings” are used for everything, but distinguishing the parts helps to choose correctly:
- Threaded fitting: connects two components via threading (male/female). It can have one threaded side and the other smooth, conical, or hose barb.
- Hose clampHose barb.
- : has a grooved part (a “barb”) onto which the hose is fitted. The other side can be threaded or smooth.Adapter/reducer.
: is used to switch from one thread type to another (e.g., BSP ↔ NPT, or metric ↔ BSP) or from one size to another.
Two different “sizes” not to confuse
- Many errors arise from confusing: Hose size.
- (inner/outer diameter): concerns the hose barb side and the hose. Thread size.
(standard and nominal size): concerns the threaded side and compatibility with the component you screw onto.
A hose barb can be “16 mm” on the hose side and “1/2” on the threaded side: these are two different pieces of information, both essential.
Sealing: where it really happens
- Sealing can occur in different ways depending on the fitting:Thread sealing.
- : typical of many solutions with tapered threads; often suitable tape or sealant is used (check the product sheet).Sealing on seat/cone.
- : sealing occurs on a seating surface, not by “filling” the thread. In these cases, forcing tape or excessive tightening can worsen the fit.: on the hose fitting, the seal is ensured by the correct insertion of the tube and tightening of the clamp (or equivalent system).
1) Identify the type of connection required
1) Identify the application and the circuit
Before measuring, clarify where the fitting will go: water system, fuel circuit, exhaust, bilge, washing, cooling, etc. Recommended materials, tube type, and sealing strategy often change. If you are not sure, check the product sheet or compare the existing components.
2) Sizing on the tube side (hose fitting)
For the hose fitting side, the practical rule is: the diameter of the hose fitting must correspond to the internal diameter of the tube. If the tube is indicated in mm or inches, keep the same unit or use a reliable conversion.
- Measure the inner diameter of the tube (ID) if possible.
- If you measure the tube mounted, also consider the thickness: a tube with a thicker wall can be stiffer and require a more “decisive” insertion.
- If the tube is old and deformed, measure multiple points or replace it: an ovalized tube distorts the choice.
Operational advice: if you are replacing a hose fitting, bring the old piece with you and measure the external diameter of the grooved part: it is a good reference, but the final choice must be made on the internal diameter of the tube.
3) Sizing on the thread side
Here the standard comes into play: BSP, NPT or metric. The “size” (e.g. 1/2) does not match a diameter measured with a caliper intuitively: it is a nominal measurement. To avoid incompatibilities:
- Identify the standard (BSP/NPT/metric).
- Identify if the thread is configuration o female.
- Check if it is parallel o tapered (when indicated).
4) Materials: what to evaluate without complicating things
In the nautical field, the most common materials for fittings include metals and technopolymers. The choice depends on the environment (humidity/salt), compatibility with the fluid, and pairings with other metals. In general:
- Material consistency: if you are replacing a fitting, replicating material and type reduces surprises.
- Couplings: avoid random mixing of different metals in exposed and wet areas; if necessary, consider separations/insulations and check the product sheet.
- Use of technopolymer: often useful to reduce corrosion and weight, but must be chosen carefully based on the application (check the product sheet).
BSP/NPT/metric threads (practical table)
The key point: BSP and NPT are not interchangeable even if they “seem” to screw in for a few turns. Metric, then, follows different logic (diameter and pitch in mm). When you are not sure of the standard, it is better to measure and compare with the description of the existing component.
How to recognize them in practice
- BSP: very common in nautical and European components. It can be parallel or tapered (depending on the type). Often indicated as BSP, G, R (depends on the manufacturer's terms: check the product sheet).
- NPT: common on components of US origin. Generally tapered. Often indicated as NPT.
- Metric: indicated with “M” followed by the diameter (e.g. Mxx) and sometimes the pitch. More typical in some technical components or specific equipment.
Practical comparison table (indicative)
| Standard | Unit of measurement | Typical thread shape | How it is often indicated | Compatibility note |
|---|---|---|---|---|
| BSP | Inches (nominal size) | Parallel or tapered (depends on the type) | BSP / G / R (depending on the manufacturer) | Do not confuse with NPT: pitches/angles may differ |
| NPT | Inches (nominal size) | Often tapered | NPT | Can “fit” into BSP for a few turns but it is not correct |
| Metric | Millimeters (diameter and often pitch) | Usually parallel | Mxx (sometimes Mxx x pitch) | A dedicated adapter is required to switch to BSP/NPT |
Important note: many “inch” thread sizes do not correspond to the actual outer diameter measured with a caliper. For this reason, if you are identifying a size, always compare with the component description or a manufacturer's chart and check the product sheet.
Correct installation (steps + errors to avoid)
Recommended procedure (quick checklist)
- Clean and inspect threads and seats: residues, salt, or old sealants can compromise the seal.
- Dry fit test the screwing: it must start by hand for several turns without sticking.
- : cleaning, removal of old sealant residues, crack inspection. only if provided by the type of seal and material (check the product sheet). Avoid excess that can end up in the circuit.
- Progressive tightening: tighten gradually, maintaining the fitting alignment to avoid “pulling” the tube or stressing the thread.
- Tube insertion on the hose holder: push until it stops or until it adequately covers the grooves (depending on the part's geometry).
- Clamp(s): position them correctly on the useful area of the hose holder, not on the edge. If two clamps are required, stagger them.
- Testing and inspection: after first use, recheck tightness and any leaks.
Common mistakes to avoid
- Mixing BSP and NPT: if it “seems to work,” it is often a sign that you are forcing an incompatible fitting.
- Tightening to compensate for a wrong size: excessive tightening can damage threads, seats, and connected components.
- Clamp in the wrong place: if tightened on the edge or outside the grooved area, the tube can slip off or weep.
- Hardened or micro-cracked tube: even a perfect fitting does not fix an end-of-life tube.
- “Tensioned” orientation”: installing a fitting so that the tube remains under tension increases the risk of leaks over time.
Maintenance (frequencies and checks)
Maintenance of fittings is simple but must be done consistently, especially in saline environments or on systems subject to vibrations.
What to check
- Traces of moisture or drops around the thread or hose connector.
- Crystallized salt or halos: these are often the first sign of a micro-leak.
- Condition of the tube: hardening, cracks, swelling near the clamp.
- Cable tiesCorrosion, deformations, loss of tension.
- Play or vibrations: fittings that “work” can loosen over time.
When to do it
A good habit is to visually check critical points before and after outings and perform a more thorough check at regular intervals during the season. If the system has just been modified, recheck after the first uses.
Common problems and solutions (troubleshooting)
The fitting does not catch the thread (it jams immediately)
- Possible cause: different standard (BSP vs NPT) or incompatible pitch.
- SolutionDo not force; identify the standard and use the correct adapter. If in doubt, compare photos and measurements and check the product sheet.
Leak on the thread after assembly
- Possible cause: unsuitable sealant, incorrect quantity, sealing that should have occurred on the seat and not on the thread, or damaged threads.
- SolutionDisassemble, clean, check the condition of the threads and repeat assembly according to the type of seal required. If the fitting requires a gasket or dedicated seat, make sure it is present and in good condition (check the product sheet).
The tube seeps or slips off the hose connector
- Possible cause: wrong tube diameter, stiffened tube, clamp positioned incorrectly or insufficient.
- SolutionCheck that the hose connector matches the internal diameter of the tube; reposition the clamp in the correct area and consider replacing the tube if it has hardened.
Abnormal corrosion or oxidation near the fitting
- Possible cause: non-ideal material pairing in a humid/saline environment.
- SolutionConsider a more suitable material or the use of compatible components. In case of doubt, choose fittings from the same family/material as the rest of the system and check the product sheet.
Recommended products
To help you complete an installation without improvising, here is what is usually needed when working on fittings and hose clamps. Specific products depend on size and standard: select variant and compatibility in the product sheet.
- Threaded marine fittings (BSP/NPT/metric)
- Hose clamps for tubing (straight and elbow)
- Adapters and reducers between threads
- Elbow fittings for tight spaces
- T fittings and branches
- Extensions and nipples (male-male)
- Plugs and closures (male/female)
- Mounting accessories (sealants, gaskets, clamps)
Useful links
If you are designing or restoring a complete line, these internal paths help you quickly find compatible components:
- Fittings category: complete overview and filters by standard
- Tube size guide: how to measure internal/external diameter
- Thread sealant guide: when to use and when to avoid
- Technofluid brand: related components and accessories
FAQ
How do I know if my thread is BSP or NPT?
The most reliable method is to read the marking on the component or documentation. Alternatively, you can measure diameter and pitch and compare with manufacturer tables. If the fitting screws on only a few turns and then locks, it could be an incompatible BSP/NPT pairing: do not force and check the product sheet.
Can I use an NPT fitting on a BSP female (or vice versa) “because it tightens”?
It is not recommended: even if it sometimes seems to fit, compatibility is not guaranteed and the seal can be unstable. The correct solution is to use a dedicated adapter or choose a fitting with the same standard as the component.
Does the thread size in inches correspond to the diameter I measure with the caliper?
Not always. Thread sizes in inches (BSP/NPT) are nominal and can be misleading. To choose, always match standard + nominal size and, if available, compare the data provided by the manufacturer: check the product sheet.
What is the difference between the hose holder size and the thread size?
The hose clamp size concerns the inner diameter of the pipe that must fit. The thread size concerns the standard and size of the threaded connection. A single component can have both sizes and both must be chosen correctly.
How many clamps are needed on a hose holder?
It depends on the application, type of tube, and available space. In some cases, two offset clamps are used; in others, a properly sized clamp is sufficient. Follow the practice best suited to your system and check the product sheet if there are specific instructions.
I have a leak: do I need to replace the fitting or is it enough to reassemble it?
If the leak is due to dirt, wrong sealant, or poorly positioned clamp, often a correct reassembly solves it. If instead the threads are damaged, the tube is hardened, or the fitting is oxidized/deformed, it is safer to replace the component and check compatibility (standard and sizes) before purchase.
Conclusion
Choosing fittings and hose clamps is not a matter of “eyeballing it”: you need tube size, fillet standard and a check of the expected tightness. If you want to avoid returns and losses, start from your current configuration, compare the labels and then select the correct component. Explore the selection of marine fittings e, se cerchi una linea coerente di componenti, dai un’occhiata anche al catalogo Technofluid: filtra per standard e controlla sempre i dettagli nella scheda prodotto.
FAQ
How do I know if my thread is BSP or NPT?
Read the wording on the component or on the documentation; alternatively measure diameter and pitch and compare with the manufacturer's tables. If it screws in only for a few turns and then stops, it could be an incompatible fit: do not force and check the product sheet.
Can I use an NPT fitting on a BSP female (or vice versa) “because it tightens”?
It is not recommended: although it sometimes seems to fit, compatibility is not guaranteed and the hold can be unstable. It is better to use a dedicated adapter or choose a fitting with the same standard as the component.
Does the thread size in inches correspond to the diameter I measure with the caliper?
Not always. The inch sizes of BSP/NPT threads are nominal and can be misleading: match the standard and nominal size and check the manufacturer's data in the product sheet.
What is the difference between the hose holder size and the thread size?
The hose holder size refers to the internal diameter of the tube; the thread size refers to the standard and size of the threaded connection. Both must be chosen correctly.
How many clamps are needed on a hose holder?
It depends on the application, type of pipe, and space. In some cases, two staggered clamps are used; in others, one is enough. Check the product sheet for any specific indications.
I have a leak: do I need to replace the fitting or is it enough to reassemble it?
If the cause is dirt, incorrect sealant, or improperly positioned clamp, often a correct reassembly solves the issue. If threads, tube, or fitting are damaged or oxidized, it is safer to replace and check compatibility and measurements in the product sheet.


